-40%
Heat Transfer Paper For Hard Surfaces TECHNI PRINT HS 8.5" x 11" 25 Sheets
$ 8.97
- Description
- Size Guide
Description
--eBay
Degital Design Depot
WorldWide Fast Delivery
MENU
Home
New Arrivals
Ending Soon
Feedback
Contact Us
Home
Our Store
Feedback
Contact Us
Shop Categories
Heat Transfer Paper
Heat Transfer Vinyl
Heat Press Machines
Adhesive Vinyl
Bundles
Helpfull Links
Add to Favourite Seller
Ask Seller a Question
About Us
Contact Us
View Feedback
Visit Our eBay Store
Store Newsletter
Add my Shop to your Favorites and receive my email newsletters about new items and special promotions!
Subscribe
Fast Delivery
Secure Payments
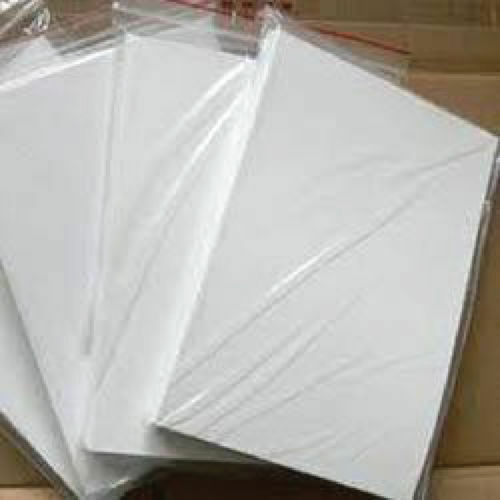
TECHNI PRINT HS Heat Transfer Paper For Hard Surfaces
8.5" x 11" -- 25 Sheets
Or Choose Different Paper Type Qty / Size
Description
Techni-Print® HS
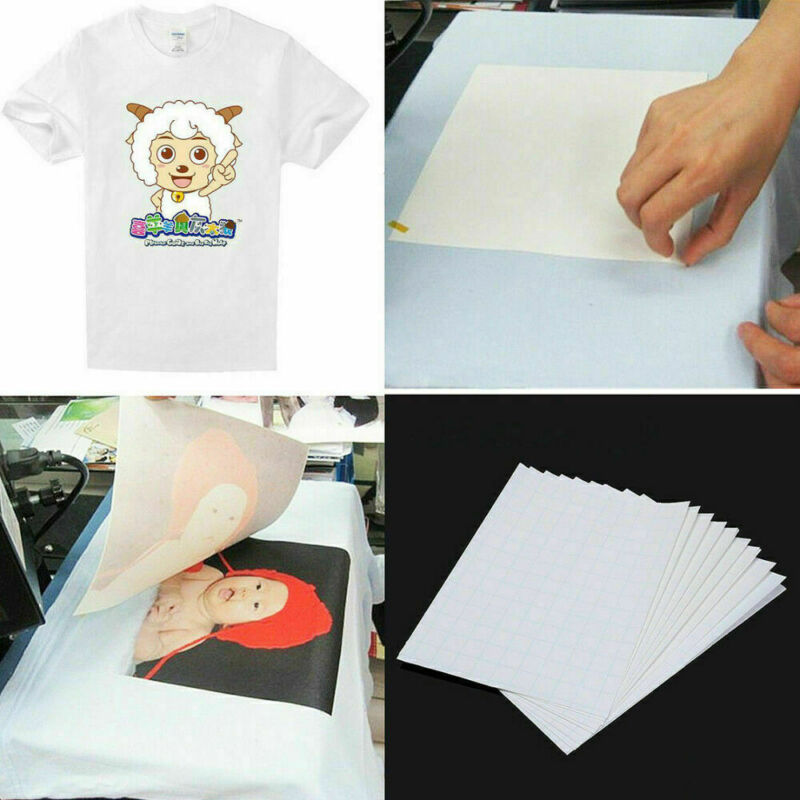
heat transfer paper is designed for transferring all types of images onto harder surfaces such as ceramics, wood, leather, metal and glass. It is designed for ornamental purposes and works best on light coloured surfaces. Simply print your image with a laser printer and press onto your chosen substrate with a heat press.
You will need a laser printer, a contour cutter or scissors and a heat press
A laser transfer paper designed for transferring images onto hard surfaces
Suitable for transferring solid colour images onto white or light coloured hard surfaces
Recommended surfaces include uncoated ceramics (e.g. mugs and tiles), glass, acrylic, wood and metal
Best for ornamental items as the transferred image may be susceptible to scratching
Compatible with most laser printers* - you may have to adjust the image settings and paper settings
Approved by OKI for use with their printers INDIGO Certified for the 7000-1000 series
Mirror or reverse your image before printing
Use a heat press for application
Instructions
EZP
Laser 1
Imageclip
Jet Pro
3G -JEtII
Printing Instructions:
1. Print the image in reverse/mirrored format using a Heavy paper mode.
2. Trim away the unprinted areas of the transfer if desired.
Pre-Transferring Instructions
:
1. Prepare the garment/fabric by ensuring the surface is clean, dry, and wrinkle free by using a lint brush and your heat press.
Transferring Instructions:
1. Place the transfer on top of the garment with the print image against the fabric. 2. Press 30 seconds at 375°F/190°C using using medium to heavy pressure (40 to 70 psi/3 to 5 bar).
3. For best results leave on the heat press, wait 10 to 15 seconds depending upon the fabric and then peel the paper in a smooth even motion (hot peel).
4. To improve the feel or “hand” and get even better wash durability, stretch the garment in all directions while still hot.
5. If desired, wait and peel the paper after cooling completely (cold peel). This method gives a stiffer “hand” but it is quicker and works well for hard surfaces.
6. You can then improve the softness and get even better wash durability by covering the image with parchment paper, repressing for 10 seconds and immediately stretching in all directions while still hot. Xtra SOFT FABRIC
Method:
1. Alter pressing step to 10 to 15 seconds at 375°F/190°C using medium to heavy pressure (40 to 70 psi/3 to 5 bar).
2. Remove from press and peel the paper after cooling (Do not stretch).
3. Place the garment back on the heat press and cover the image with parchment paper.
4. Press using medium to heavy (40 to 70 psi/3 to 5 bar) pressure for 25 seconds to fully bond the image to the garment.
5. Remove the parchment paper and immediately stretch the garment in all directions to soften, improving the “hand”, and also improving the wash durability.
Washing Instructions
: Turn garment inside out and wash in cold water using a mild detergent. Do not use bleach. Dry on low-heat setting. If you intend to iron the transferred area, ensure that the image is covered with parchment paper before ironing.
Printing Instructions:
1. Print image right reading.
2. Trim away the unprinted areas of the transfer if desired.
Pre-Transferring Instructions:
1. Prepare the garment/fabric by ensuring the surface is clean, dry, and wrinkle free by using a lint brush and your heat press.
Transferring Instructions:
1. Bend a corner to remove the backing paper from the printed image.
2. Place the printed image on top of the garment with the image facing up (right reading to you).
3. Completely cover the image with siliconized parchment paper.
4. Press 30 seconds at 350°F/177°C using medium (30 psi/2 to 3 bar) pressure.
5. Peel the parchment paper off in a smooth even motion after the transfer cools completely.
Washing Instructions:
Turn garment inside out and wash in cold water using a mild detergent. Do not use bleach. Dry on low-heat setting. If you intend to iron the transferred area, ensure that the image is covered with parchment paper before ironing.
Instructions
1. Print the image in reversed/mirrored format onto the ‘Imaging Sheet.’
2. Begin by printing on standard paper setting. If toner does not fuse, increase the ‘paper weight’ setting. (You can check toner fusion by rubbing with a tissue and if tissue comes away clean, the toner is well fused!)
Pre-Trasnferring
Prepare the garment/fabric by ensuring the surface is clean, dry, and wrinkle free using a lint brush and your heat press.
Transferring Image Clip Laser Light
Step 1:
1. Press the printed Image Sheet to the ‘Transfer Sheet’ and heat press for 20 seconds at 210°F/99°C using light (25 psi/2 bar) pressure.
2. Separate papers while still hot using a smooth even motion.
Step 2: 1. Press the imaging sheet facedown onto the shirt or substrate.
2. Press 30 seconds at 375°F/190°C using heavy (60 to 70 psi/5 bar) pressure.
3. Allow to cool to room temperature then peel the backer paper off using a smooth even motion.
4. For best results, “hand” stretch the garment in all directions, then cover with siliconized parchment paper and repress at the conditions listed in Step 2 for 10 seconds
Transferring Image Clip Laser Dark and KoncerTs
Step 1:
1. Press the printed Image Sheet to the ‘Transfer Sheet’ and heat press for 20 seconds at 250°F/121°C using medium to heavy pressure (40 to 70 psi/3 to 5 bar). 2. Separate papers while still hot using a smooth even motion.
Step 2: 1. Press the imaging sheet facedown onto the shirt or substrate.
2. Press 30 seconds at 375°F/190°C using heavy pressure (60 to 70 psi/ 5 bar).
3. Allow to cool to room temperature then peel the backer paper off using a smooth even motion.
4. For best results, “hand” stretch the garment in all directions, then cover with siliconized parchment paper and repress at the conditions listed in Step 2 for 10 seconds.
Washing
Turn garment inside out and wash in cold water using a mild detergent. Do not use bleach. Dry on low-heat setting. If you intend to iron the transferred area, ensure that the image is covered with parchment paper before ironing.
Printing
1. Print the image in reverse or mirrored format. 2. Trim away the unprinted areas of the transfer if desired.
Pre-Transferring
Prepare the garment/fabric by ensuring the surface is clean, dry, and wrinkle free using a lint brush and your heat press.
Transferring
1. Place the transfer on top of the garment with the image side touching the substrate (backing paper is facing you).
2. Press 30 seconds at 375°F/190°C using medium/heavy pressure (30 psi/3 to 5 bar).
3. Let paper cool up to 1 minute to avoid burning fingers.
4. Peel the paper while still hot in a smooth even motion. (Paper may be peeled at any temperature, depending on which end “feel” results are preferred
5. For greatest softness, quickly stretch the fabric in all directions while still hot. If you used the cold peel method, quickly repress the parchment covered image and stretch while still hot.
Printing
1. Print image on coated side of paper right reading (do not mirror the image).
2. Trim away the unprinted areas of the transfer if desired.
Pre-Transferring
Prepare the garment/fabric by ensuring the surface is clean, dry, and wrinkle free using a lint brush and your heat press.
Transferring
1. Bend a corner to remove the backing paper from the printed image.
2. Place the Heat Transfer Paper on the top of the garment with the image facing up (right reading to you).
3. Completely cover the image with one sheet of parchment paper.
4. Press: 30 seconds at 350°F/177°C using medium pressure (30 to 45 psi/2 to 3 bar).
5. Once cold, peel away ironing sheet in a smooth even motion.
3G Jet Opaque Transfer Papers and all The Line Of Ink Jet Heat Transfer Papers - YouTube
Video will open in a new window
Using the eBay App? Paste link into a browser window:
[isdntekvideo]
Laser 1 Opaque Heat Transfer Paper Introduction - YouTube
Video will open in a new window
Using the eBay App? Paste link into a browser window:
[isdntekvideo]
TechniPrint EZP Heat Transfer Paper Introduction - YouTube
Video will open in a new window
Using the eBay App? Paste link into a browser window:
[isdntekvideo]
STORAGE
Store unused sheets in a resealable poly bag on a flat, cool and dry area
TEST APPLICATION
We thoroughly test each of our products on various substrates using different transfer equipment. However, it is impossible for us to duplicate all variables using all substrates and transfer equipment, methods and substrate materials. Heat presses vary in accuracy. Conduct tests to determine the best time and temperature to use with your equipment.
Please keep in mind the seller's and the manufacturer's maximum obligation shall be to replace any paper that has proven to be defective. Neither the seller nor the manufacturer shall be liable for any injury, direct or consequential, arising out of the use of, or inability to use this paper.
Payment
Shipping
Returns
-Paypal: This is our preferred method of payment. We accept Paypal from "Confirmed Addresses Only!” This is the fastest and most efficient way for us to process your order.
-Credit Card Payments – Visa, Master Card, Discover & AmEx - PayPal will accept your credit card even if you do not have a PayPal account. Scroll down the log-in page to find this option
-Company Checks: We do not accept company checks.
-All winning bidders must use our checkout through Paypal at the end of the auction. You can simply click on the "Pay Now" button and you will be automatically redirected to Paypal to complete the checkout process.
-We ship with the US Postal Service, UPS, DHL and will ship with motor freight as needed. All customs duties and import taxes are the responsibility of the buyer.
-Shipments are normally made within 1–2 business days of confirmed payment. You will receive a tracking number notification email on the day your item is shipped. Items requiring crating for motor freight may take longer.
-NO international shipments will be made without a tracking service. All UPS, DHL shipments do have tracking service. Some US Postal Service selections offer shipping to your country but no tracking service. If you select shipment with no tracking we will contact you with an alternative. If the increased cost with tracking service is unacceptable we will refund your purchase and terminate the transaction.
-Please do not select overnight shipping unless you have confirmed with us that we can ship that day.
-Please be aware that we observe most national holidays and therefore you may see a slight delay in processing your orders around holidays.
-If you are not 100% Satisfied with your purchase, you can return your order to our warehouse for a full refund.
-Before sending back an item for a refund or exchange, you must contact us and request an item return form.
-Once your return is received and inspected (usually within 72 hours of receipt), your refund will be processed and a credit will be automatically applied to your original method of payment within 7 days.
>Digital Design Depot Co. is an experienced and passionate group of designers, developers, project managers, writers, and artists. Every client we work with becomes a part of the team. Together we face the challenges and celebrate the victories.
Feedback is extremely important for all eBay sellers. We strive on providing the best possible experience while shopping with us. If you receive your order within a reasonable time frame, if you did not require any assistance with your purchase then we are politely asking to please leave us 5* a feedback rating. This helps us as a seller maintain high-quality service.
Before leaving negative feedback please make sure to contact us and provide info!
THE ORIGINAL WORLD OF PAPERS © 2017. All rights reserved.


